Events
Event ticketing and registration - all in one place
“SignUpGenius...probably takes away a month’s worth of work for me!”
Jolyne Doyle, Office Manager/Coordinator, Dallas CupEverything your event needs, built in
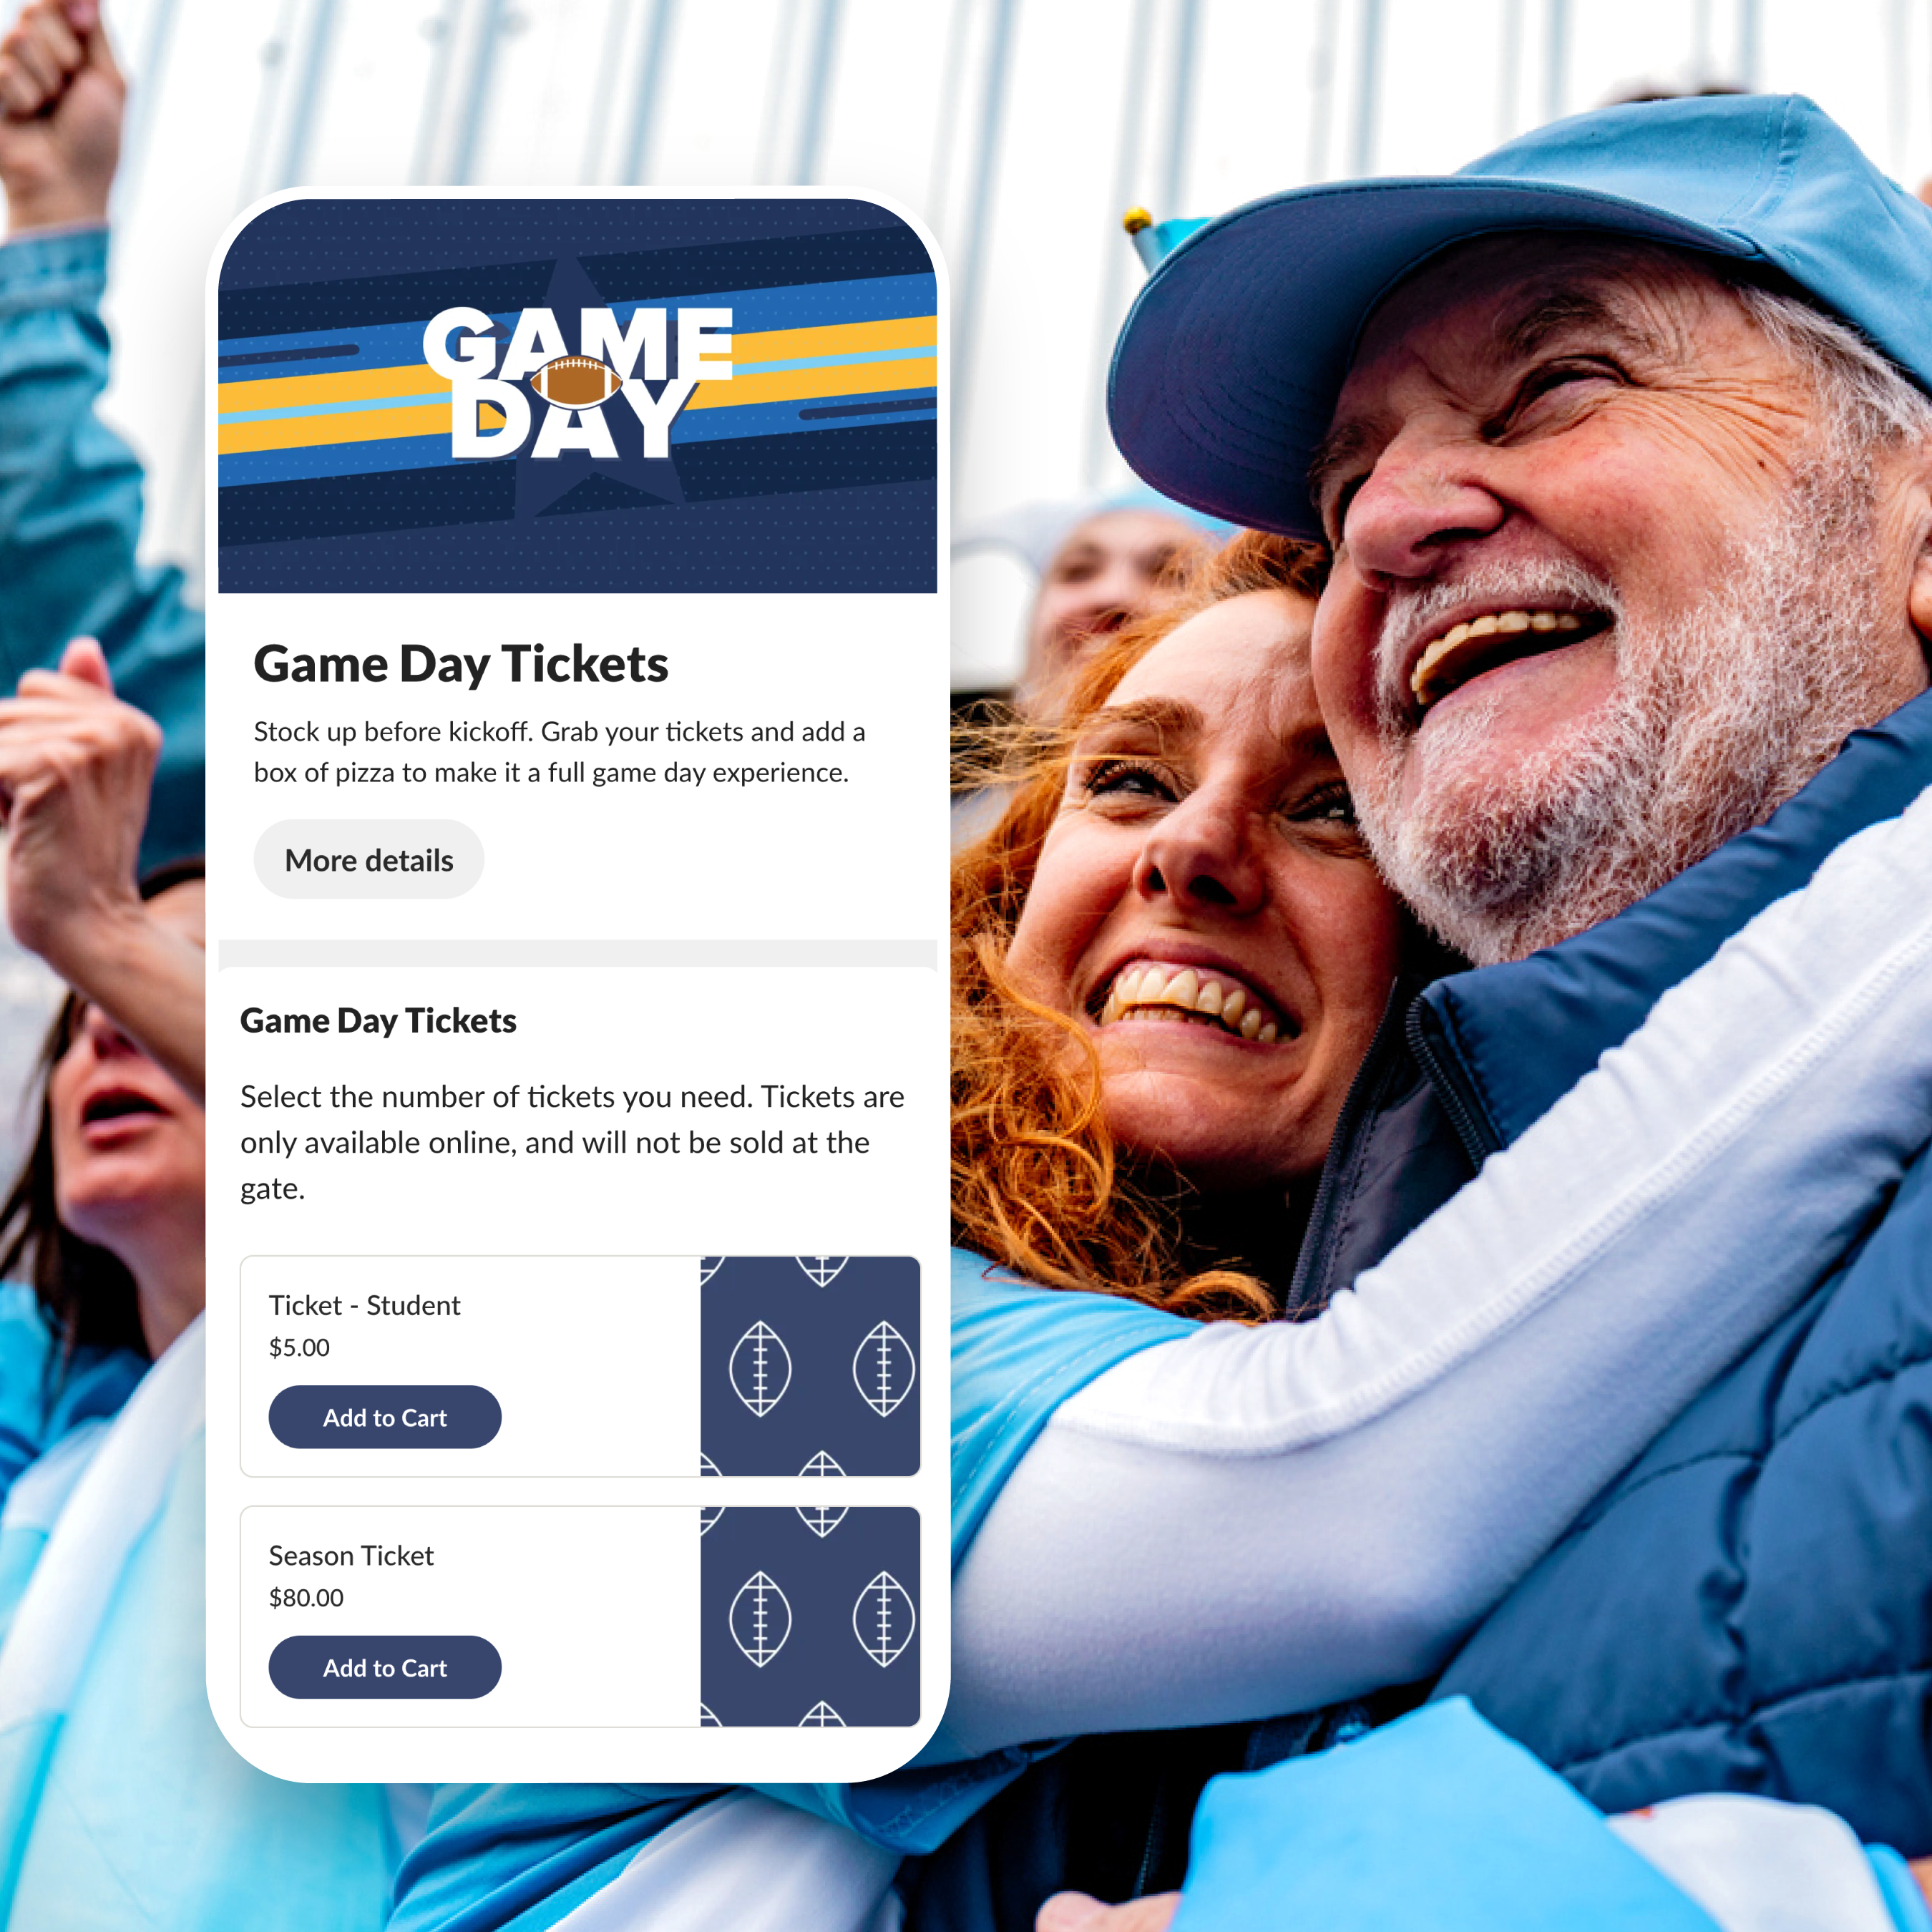
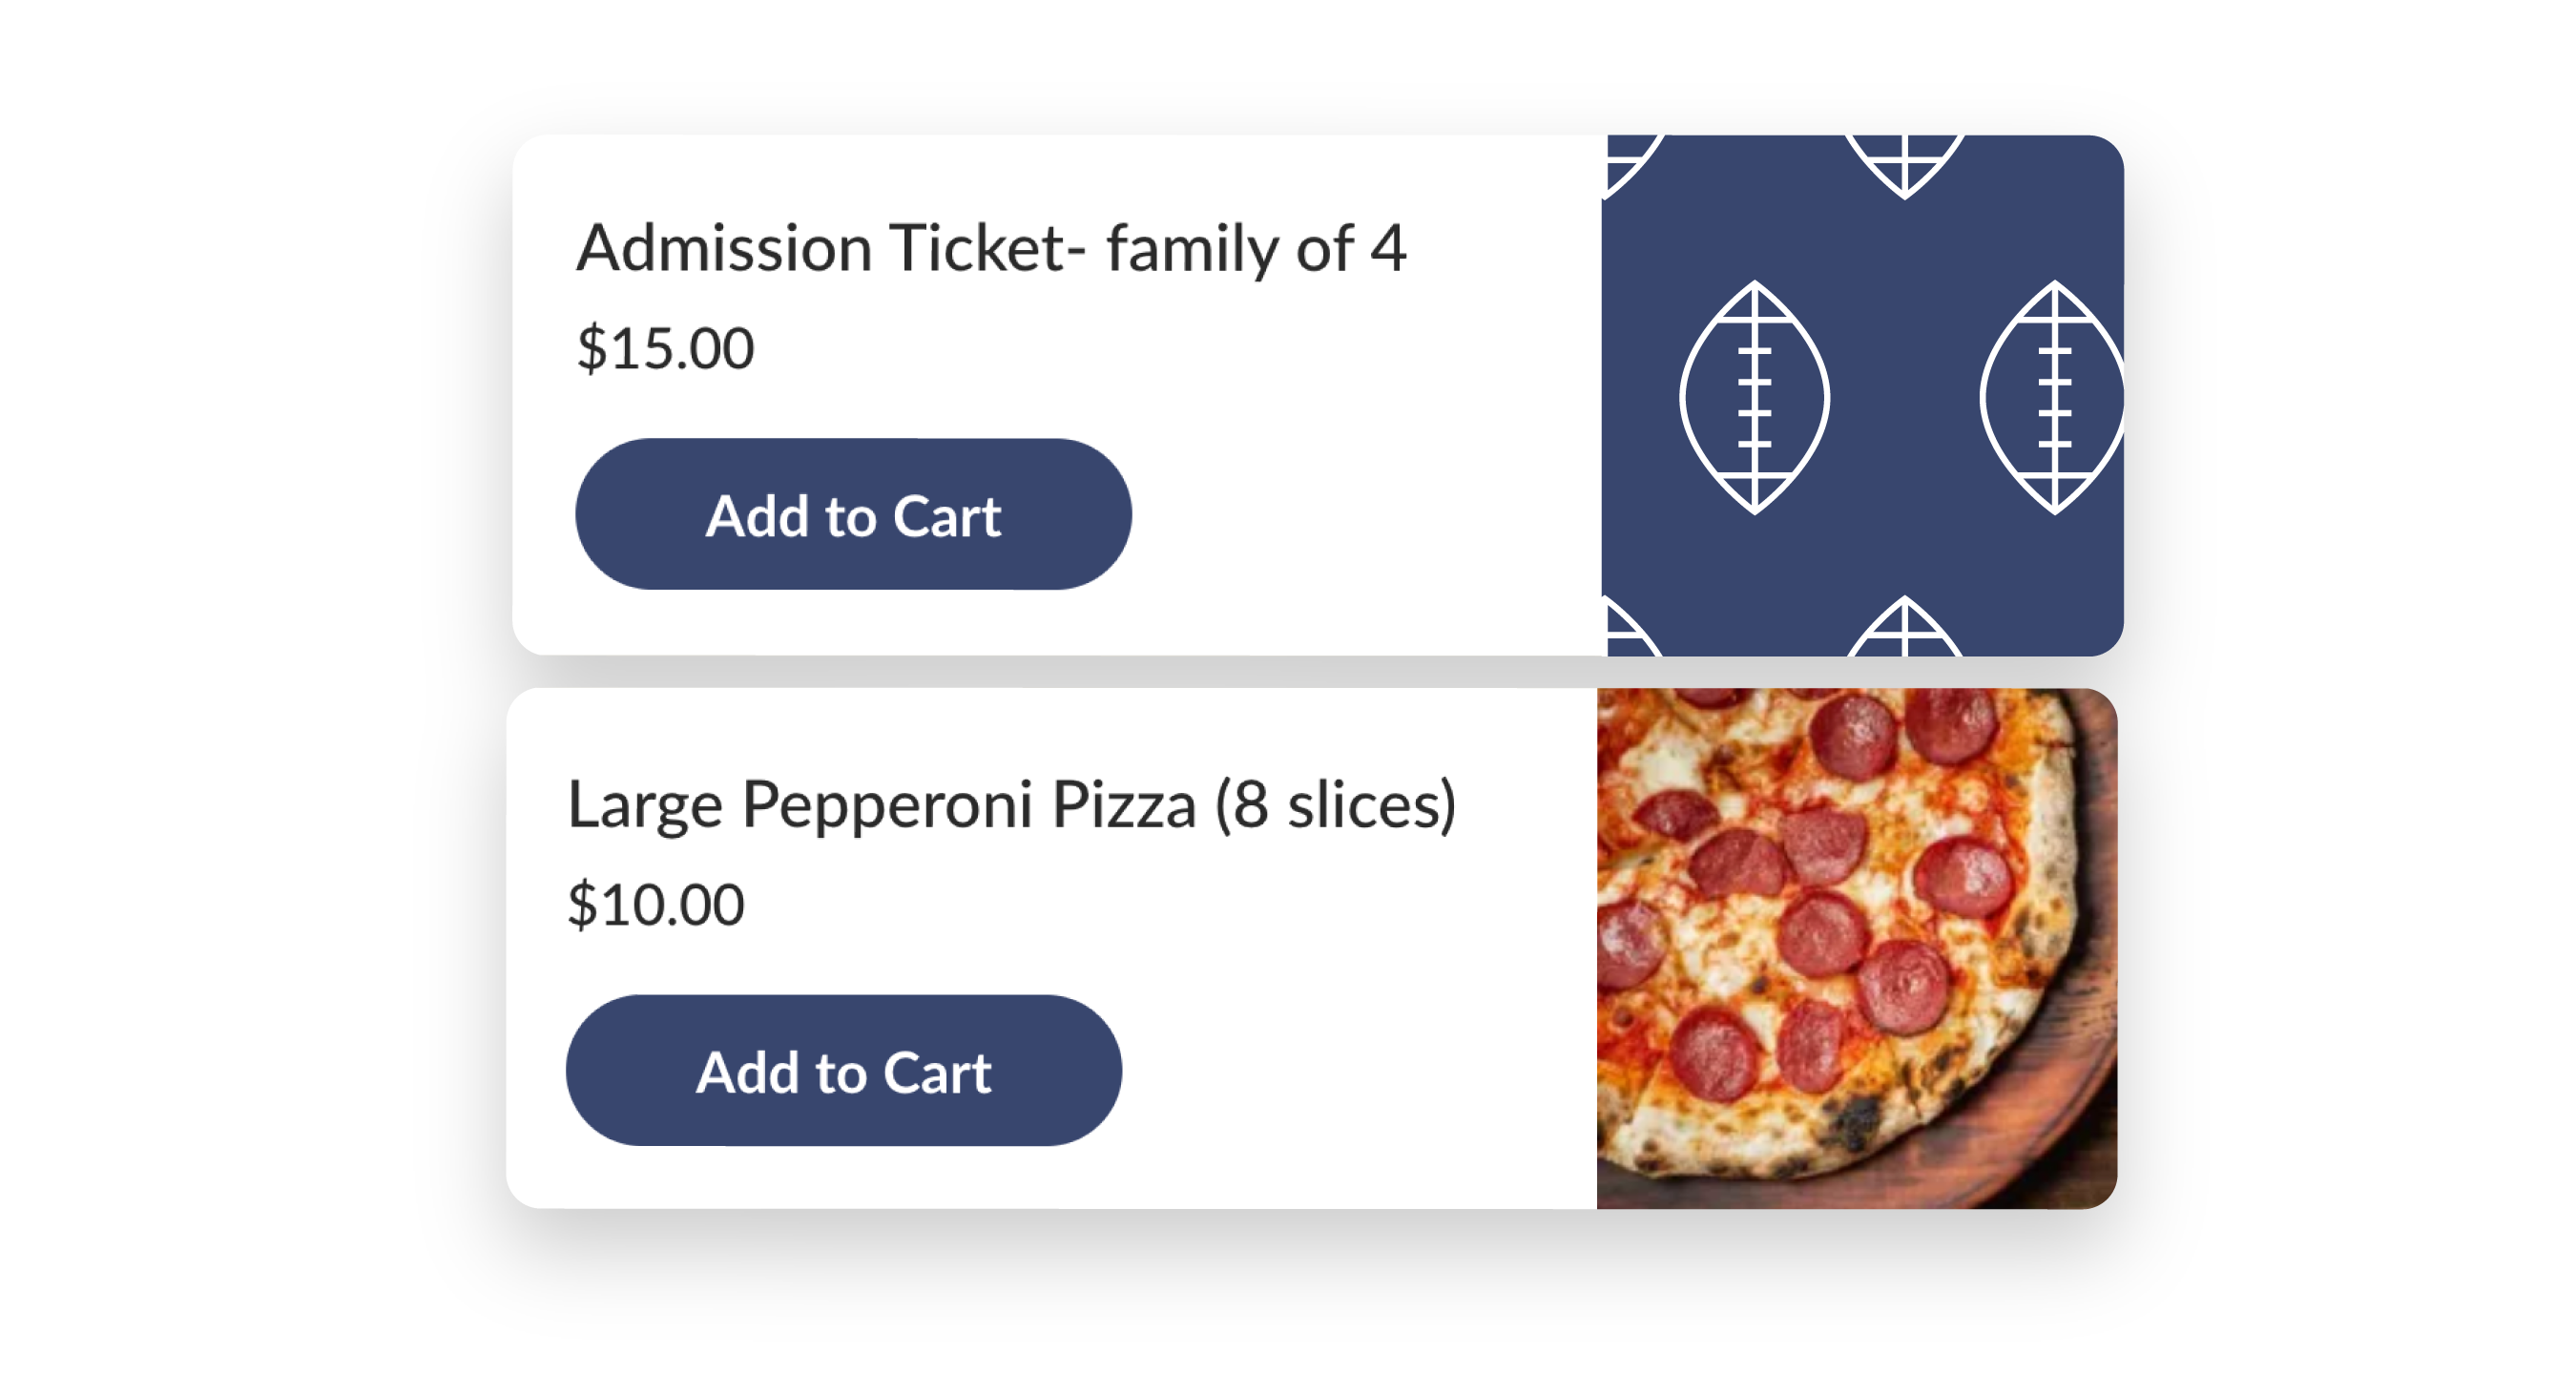
- Create different ticket types with unique prices, quantities, and descriptions.
- Sell general admission, VIP, early bird, or any combination — each with its own availability and price.
Collect attendee information alongside payment in a single checkout flow. Meal choice, t-shirt size, emergency contact, waiver signature — whatever your event requires, gathered once.
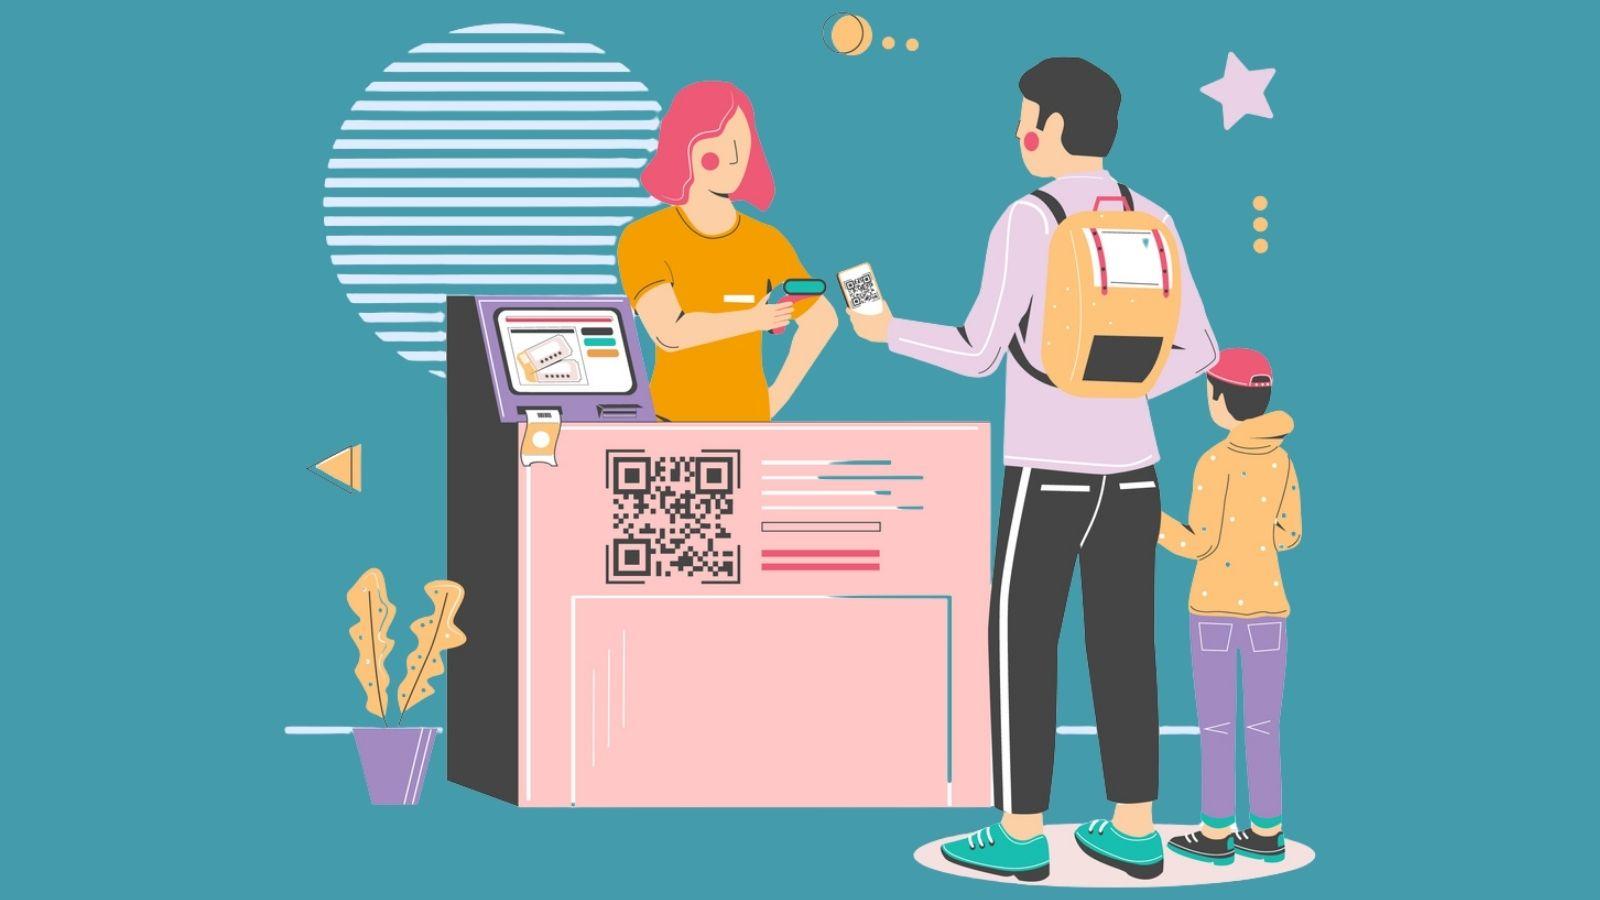
Buyers receive a QR code ticket automatically after purchase. No manual follow-up, no printing, no separate confirmation email to write.
Set quantity limits per ticket type. When the last ticket sells, the listing shows "sold out" automatically. No overselling, no manual tracking.
Attendees get reminders leading up to your event. You don't have to send them.
See who's registered, what they paid, and what information they submitted — all from one dashboard. Export to a spreadsheet anytime.


Schools and PTAs
From school dances to fundraising galas, collect ticket payments and permission forms in the same step. No separate form tool, no paper waivers.
Sports organizations
Sell tickets to games, tournaments, and banquets. Set capacity by section or event type and track registrations as they come in.
Community groups and nonprofits
Run ticketed fundraising events, galas, and community gatherings without paying hefty fees found on other platforms. Keep more of what you collect.
Clubs and associations
Manage event registrations with custom questions, payment tiers, and member discounts all without juggling multiple tools.
Create an event in SignUpGenius, set your ticket types and prices, and share your event link. Buyers select tickets, complete checkout, and receive a QR code ticket by email automatically. You see registrations and payments in real time from your dashboard.
Yes. SignUpGenius lets you add custom questions to your event checkout — contact details, meal preferences, t-shirt sizes, waiver signatures, or any other information you need. Everything is collected in the same step as payment, so you don't have to chase it down separately.
Set a quantity limit for each ticket type when you create your event. Once that quantity sells out, the ticket shows as sold out automatically. You can set different limits for different ticket types within the same event.
SignUpGenius offers event ticketing on all plans, including free. Payment processing fees apply when you collect money. See full pricing
Yes. You can create as many ticket types as your event requires — general admission, VIP, early bird, group rates — each with its own price, quantity, and description.
After completing checkout, attendees automatically receive a QR code ticket by email. No manual sending required on your end.
SignUpGenius event ticketing works for school dances, galas, fundraising dinners, sports banquets, community festivals, club events, and more. Any event where you need to sell tickets, collect registrations, or manage attendee details.
Ready to start selling tickets?